Katalon 6.3.3 Download Mac Updated
Katalon 6.3.3 Download Mac
Katalon Studio is a simple and powerful test automation solution for not merely web, desktop, and mobile applications but also for API. API is a revolution of the Selenium and Appium frameworks. Additionally, it enables users with less feel in programming to piece of work effortlessly past providing a predefined automation framework with hundreds of congenital-in keywords. Consequently, this guide explains all the necessary steps, from downloading to activating the build, and so that new users tin start Katalon Studio for the first time. In this article, we volition exist covering the post-obit topics:-
- Download Katalon Studio
- Surround Configuration
- Configurations for Web UI Testing
- Configurations for Mobile UI Testing
- Showtime Katalon Studio
- How to Activate information technology?
- Introduction
- Create a Project
- Create your first test instance
Download Katalon Studio
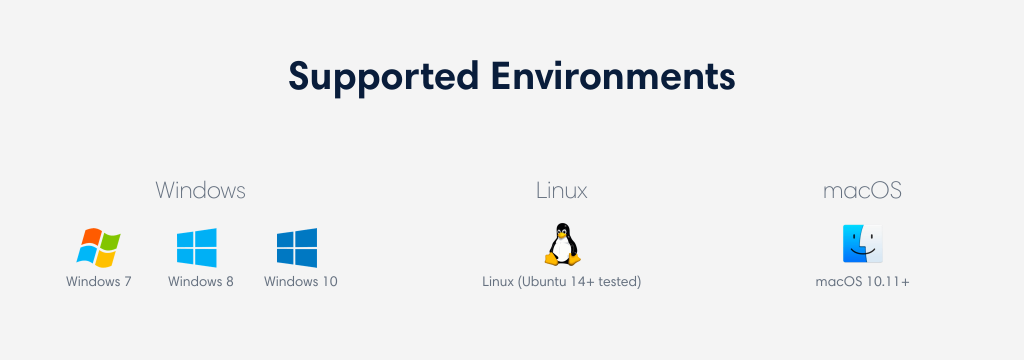
Katalon Studio is available in both free and licensed versions, supporting both Windows 7, eight, 10, Linux (Ubuntu 14-tested), and macOS 10.11+. , supporting both Windows and Mac. Additionally, y'all can visit the website ( https://www.katalon.com/ ) to download the latest version.
Environs Configuration
Kickoff, you lot need to verify if your figurer meets the Arrangement Requirements ( https://docs.katalon.com/display/KD/System+Requirements ).
Configurations for Spider web UI Testing
If y'all do Web UI testing, then no additional settings are needed except making sure the required browser installation is complete. Moreover, check the Supported Surroundings listing ( https://docs.katalon.com/katalon-studio/docs/supported-environments.html ) for all supported browsers.
In addition to the higher up, Katalon Automation Recorder extension captures the objects in Active Browser . Afterward, you can refer to Spy Web Utility and Tape & Playback for more details. Please, refer to this guide ( https://docs.katalon.com/katalon-studio/docs/katalon-addon-for-chrome.html ).
We must configure the Internet Explorer to run automation tests on IE. Additionally, please refer to the IE configurations guide ( https://docs.katalon.com/katalon-studio/docs/internet-explorer-configurations.html ).
Configurations for Mobile UI Testing
For Mobile testing, you need to install Node.js and Appium . Moreover, enable the USB Debugging mode on your device. Additionally, please refer to the Installation Guide ( https://docs.katalon.com/brandish/KD/Installation+and+Setup ) for more details.
Please refer:
Start Katalon Studio
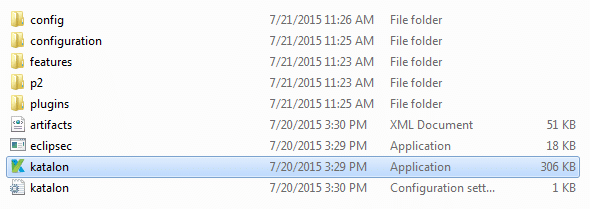
For Windows
To start, firstly, double-click on the katalon.exe (Microsoft Windows) or katalon (Mac) file in the directory where you unpack Katalon Studio. For case:
Secondly, ensure y'all are using the default font size set to 100% in both Katalon Studio and your current Os. Additionally, it avoids the name field to non display on some > pop-upwards windows:
- ***Windows: https://www.pcworld.com/article/242942/how_to_change_font_size.html
- Katalon Studio : Window → Preferences → General → Appearance → Colors and Fonts. After that, select Dialog Font and edit its font size.
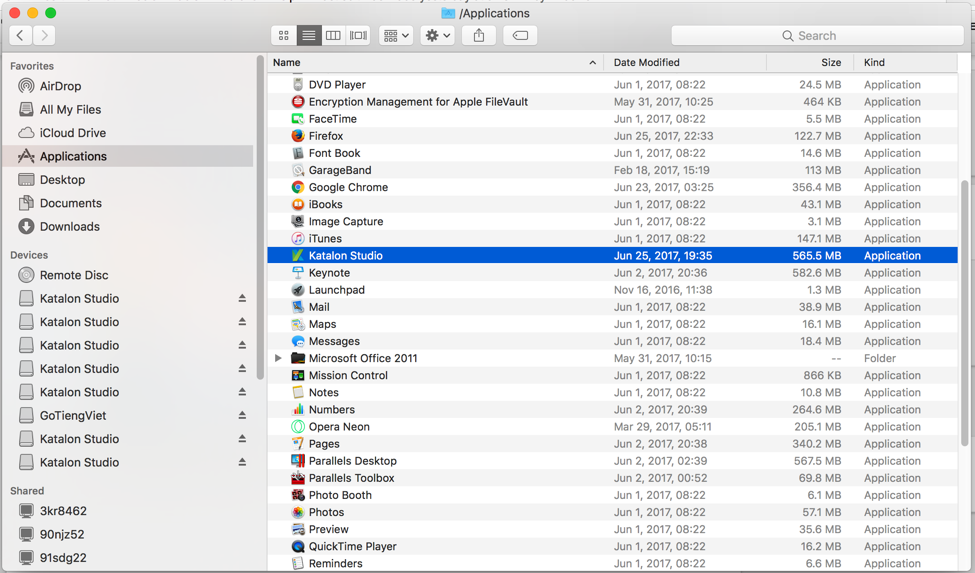
For macOS
Select Katalon Studio (macOS) file in the directory where you unpack it.
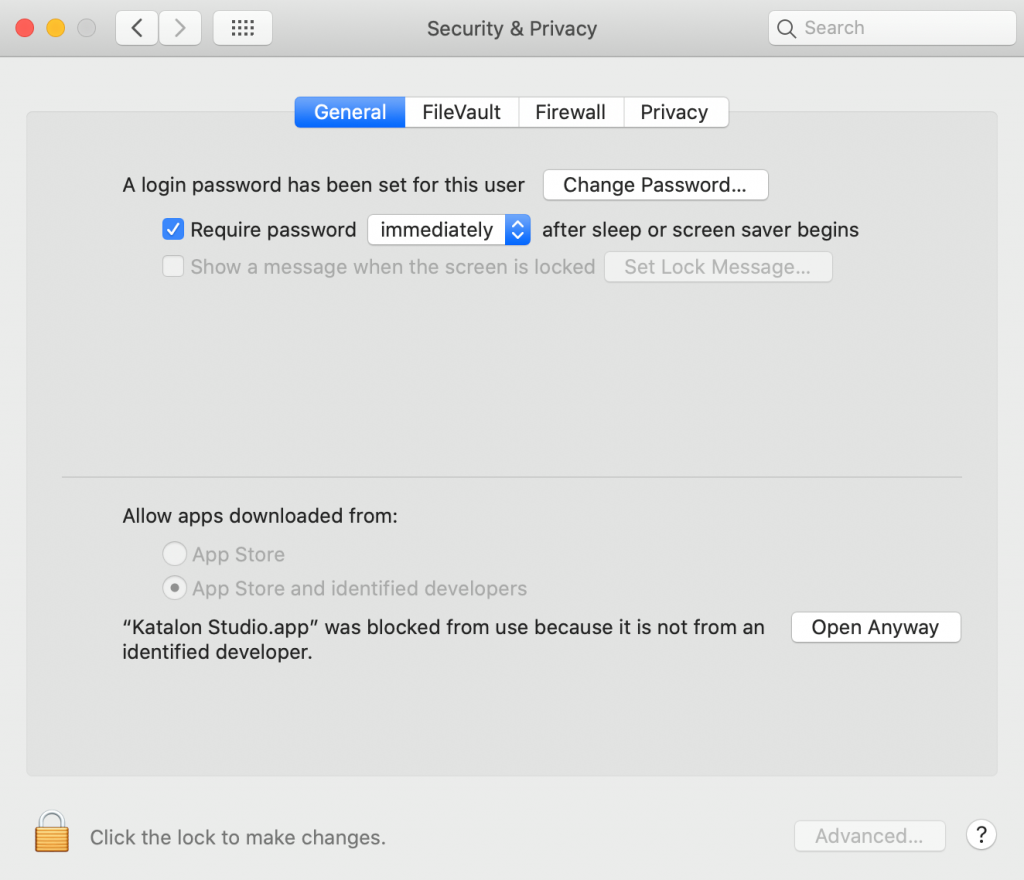
For macOS Catalina users
If macOS Catalina is currently in use, you lot have to enable Katalon Studio and it's Engine applications in Organization Preferences/ Security & Privacy/ General .
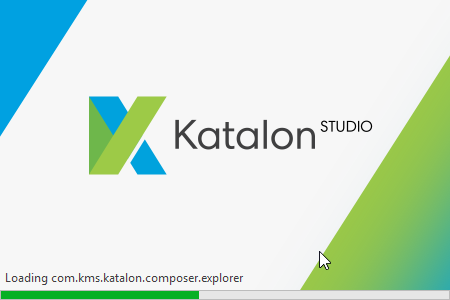
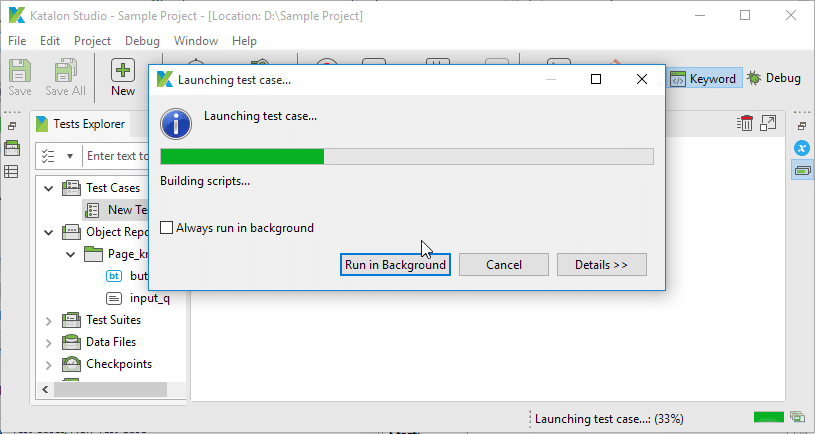
Once it begins, the application should display the splash screen similar to the following screenshot:
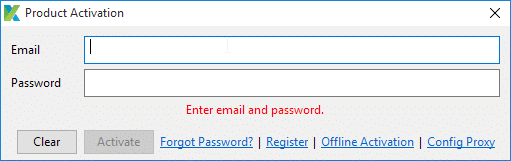
Activate Katalon Studio
After launching, give your registered username and password to activate it. Moreover, the username and password are the same as the ones you created on its registration and download from https://www.katalon.com/ .
If you are activating the licensed version, please read more than about licenses and how to activate each license under Licensing ( https://docs.katalon.com/katalon-studio/docs/license.html ).
Introduction
When your build is activated, the Quick Guide screen is displayed to guide you lot through all significant features. Additionally, you lot tin can skip this and view the Quick Guide after from the Assistance bill of fare.
At the end of the introduction, Katalon Studio suggests creating a new project. Finally, click OK .
Create a Project
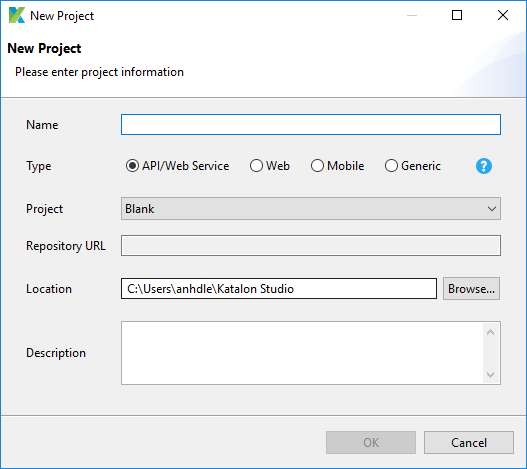
Select File > New > Project from the chief menu. Later on, the New Project dialog will be displayed. Here you tin choose the desired project type:
- Generic, Web, Mobile: All standard-features for Web, Mobile, and API Testing are available.
- API/Spider web Service: Exclusive features for API/Web Service Testing are enabled, including Quickstart sorcerer, Import Swagger/WSDL definition from File or URL, Request History list, and much more.
Specify the Name, Location, Description for the new project, and click OK .
A new projection will generate at the specified location.
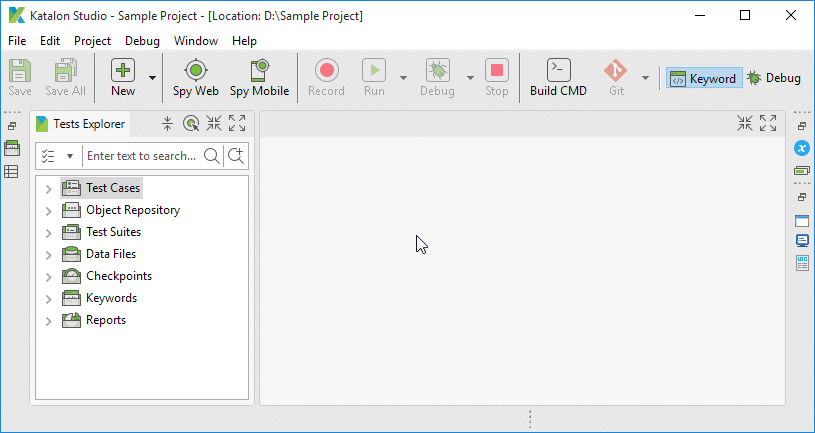
Create your first Test Case
Select File > New > Test Case from the main carte.
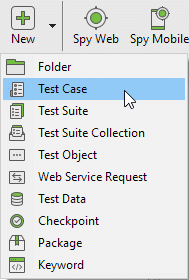
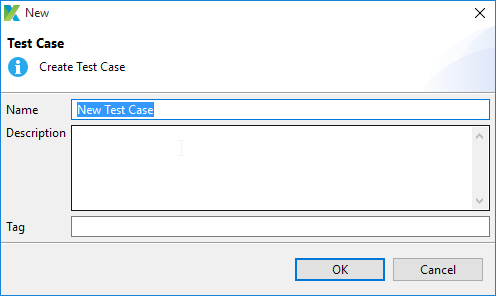
Enter the name for your exam case then click OK .
A new test instance volition create accordingly. You now tin can edit the exam case using the editor:
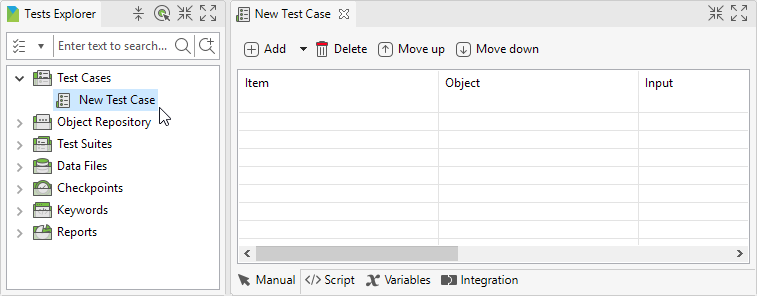
Yous can create the exam instance by recording, scripting, or manually entering examination steps. For now, let's apace generate the exam script using the Record feature.
Click on Web Record icon to open Web Recorder:

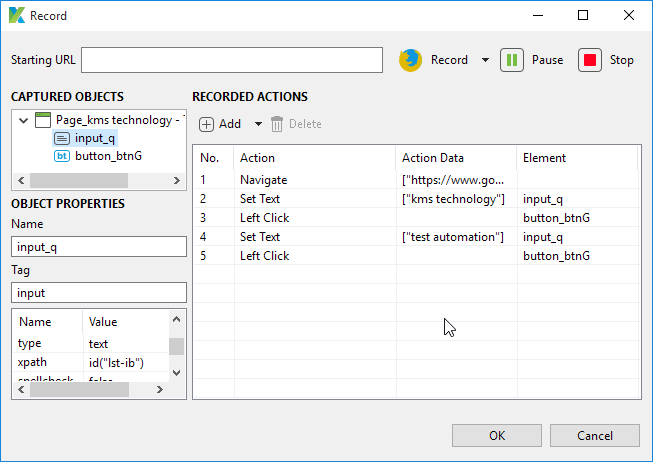
The Record dialog is as shown below:
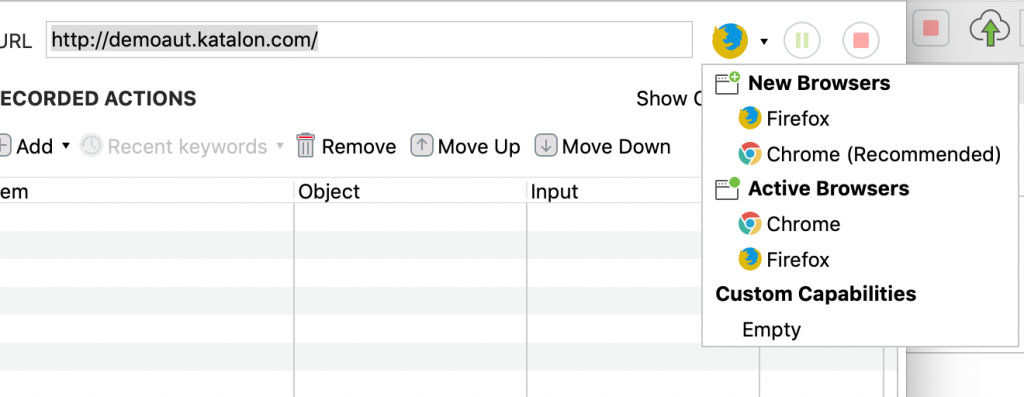
Click on the drib-downwards button at the top right corner to select the browser y'all want to use. During recording, actions performed on the browser will be captured and generated into examination steps.
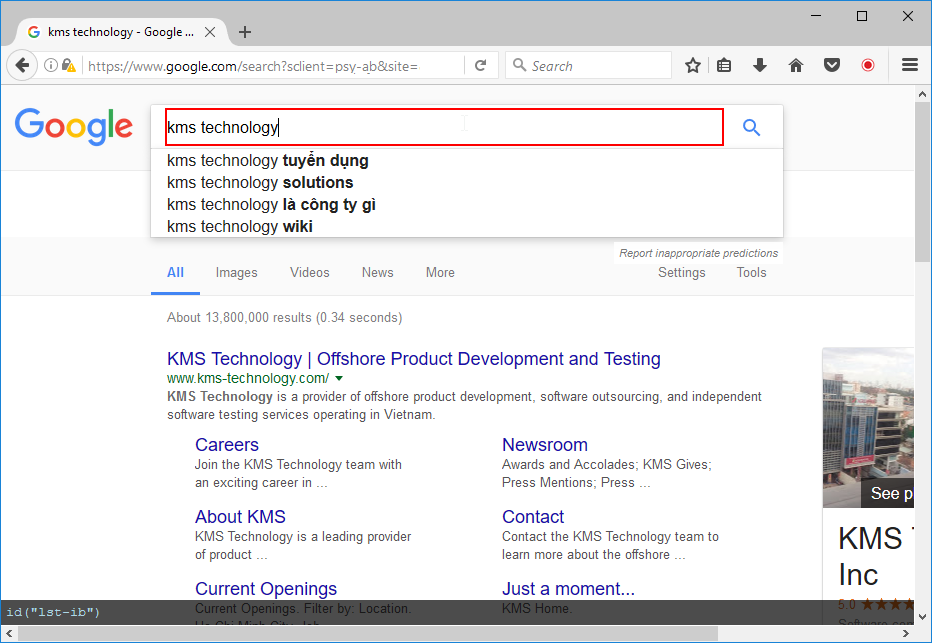
Let'southward create a unproblematic script by going to Google Search and type a search string, as illustrated on the screen above. Click OK on the Record dialog when yous finish recording.
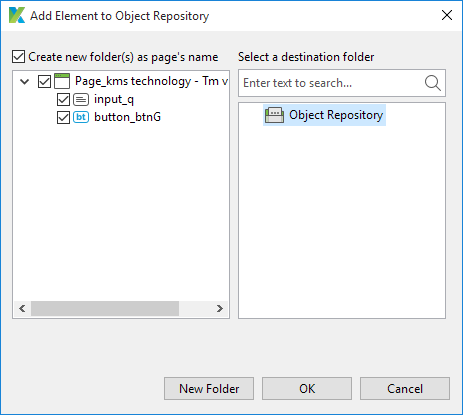
Yous get a prompt to confirm saving all captured objects to Katalon Studio. Click OK .
Captured deportment and objects are generated accordingly.
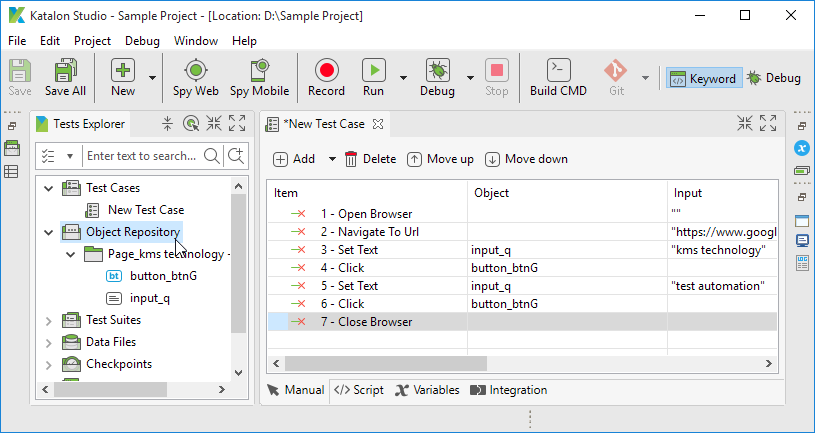
At present y'all can click on the Run command from the main Toolbar to execute the script.
Note: You can likewise click on the drop-down push at the top right corner to select the browser yous want to use
Congratulations! Y'all only created and executed your beginning test example successfully!
Katalon 6.3.3 Download Mac
Posted by: wachtelmandked.blogspot.com

